


When areas of your home are cluttered, messy and unorganized it takes longer to find items and to put them back. It can get frustrating and downright annoying having to go back and forth wondering where something went or if you even have it anymore. I’ve noticed that as I organize and de-clutter certain parts of my home, as silly as it sounds, it really helps with my mood and my efficiency in performing household tasks. If you know exactly where your cleaning supplies are, you can access them more quickly and efficiently. It also makes it easy to quickly know if you are running low on something or if it’s gone, etc instead of wondering if you just left it in a different spot this time. If you know where your extra pillowcases are, same thing. Today I’m focusing on one of my favorite areas to organize: the kitchen pantry.
If you don’t have a designated pantry in your home, I highly recommend choosing an area (certain cupboards, a small closet near the kitchen, possibly add open shelving, etc) to function as one. Having pantry staples located close together is incredibly helpful when it comes to cooking, baking, and even planning a grocery list.
Step 1: PURGE
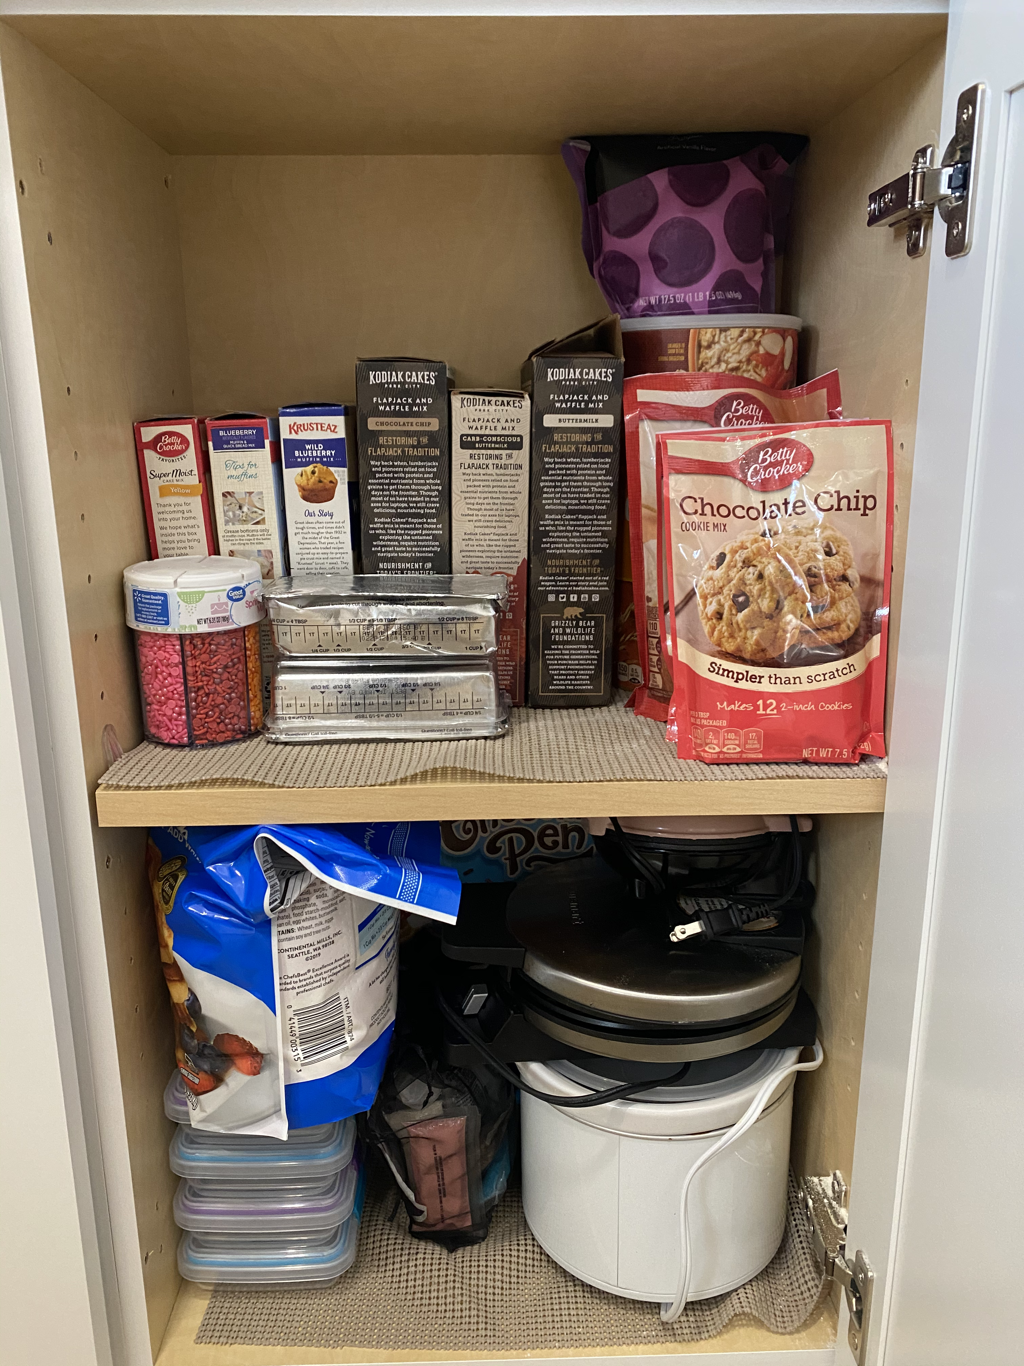
The first thing you’ll want to do is pull everything out of your pantry (or designated pantry area) and PURGE. Toss anything expired, put all of those random loose chip clips together, and reevaluate if any items that have sat and sat unused (but not expired) will get used by you soon or if you should consider donating them to a local food bank.
Step 2: CLEAN
Wipe down all surfaces so that you will be starting fresh. Use disinfectant if/when necessary otherwise a damp washcloth will usually do the trick. Be sure to allow ample time to dry before you refill the area (step 4).
Step 3: STRATEGIZE
Does the way you had your pantry set up previously suit your needs well? Does it make sense to have the highly used salt on a shelf up high and the rarely used baking soda in arms reach? The strategy will differ for every household but take a few minutes to see what makes the most sense for you. Maybe you want to leave it how it was since you have gotten so used to that system but if it doesn’t function easily I highly recommend changing the layout.
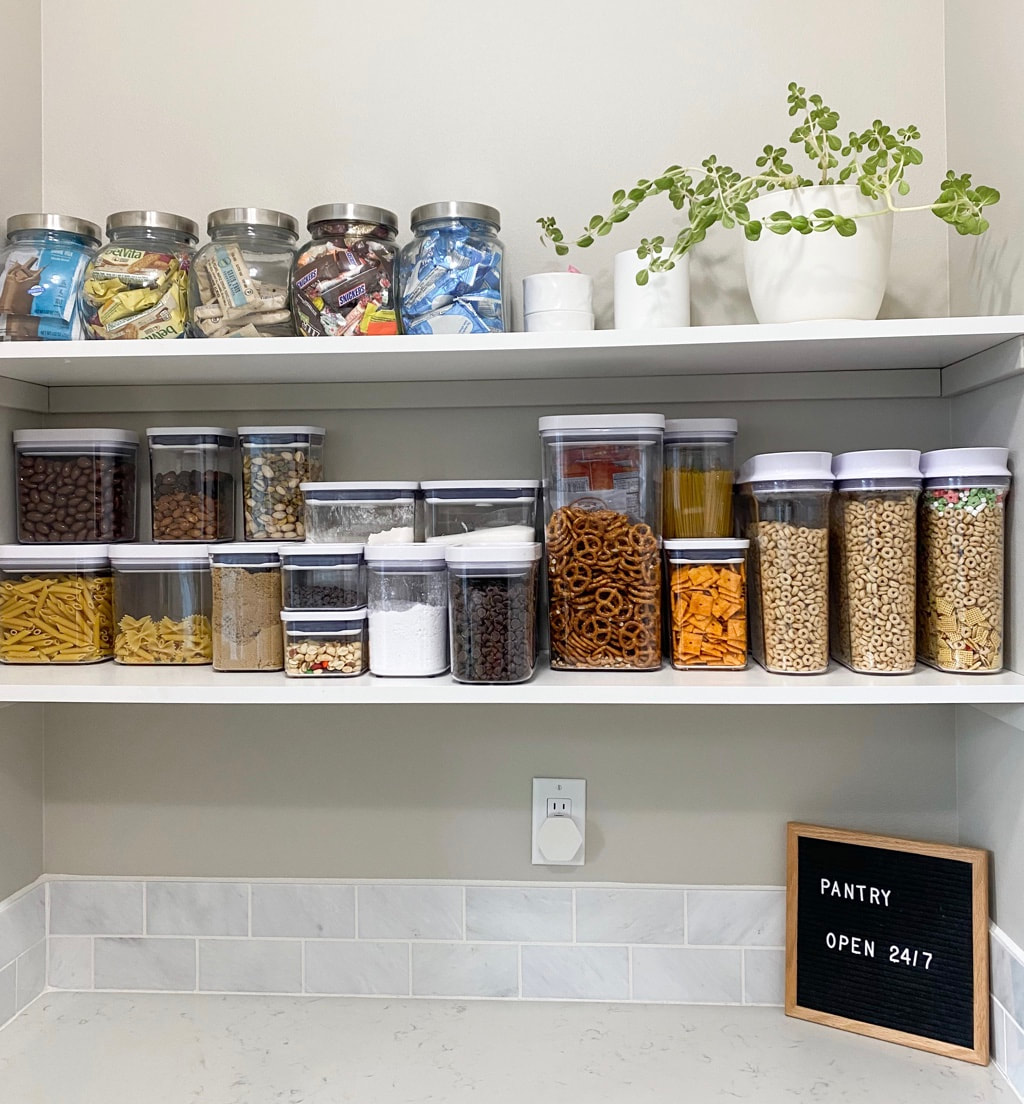
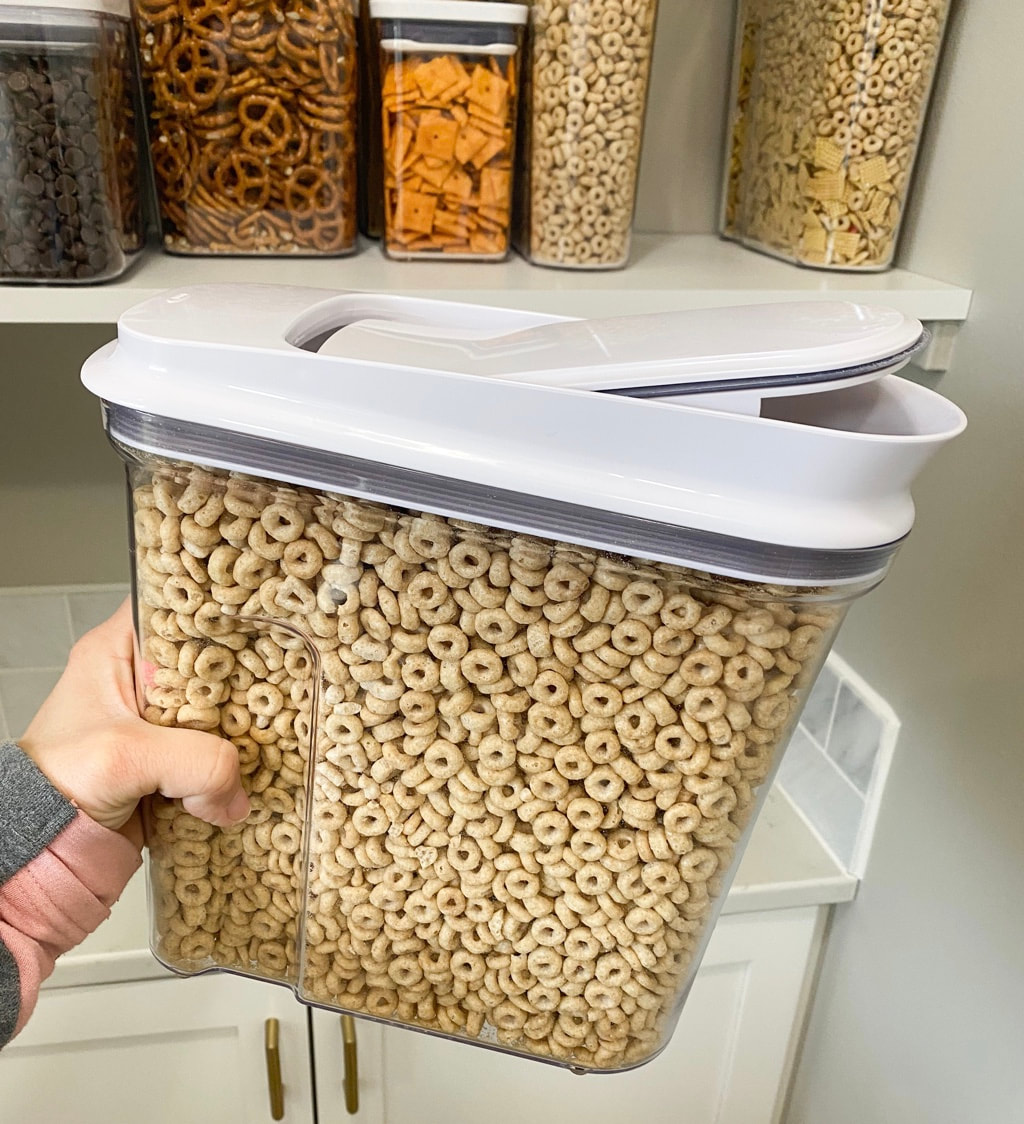
Step 4: ORGANIZE & FILL
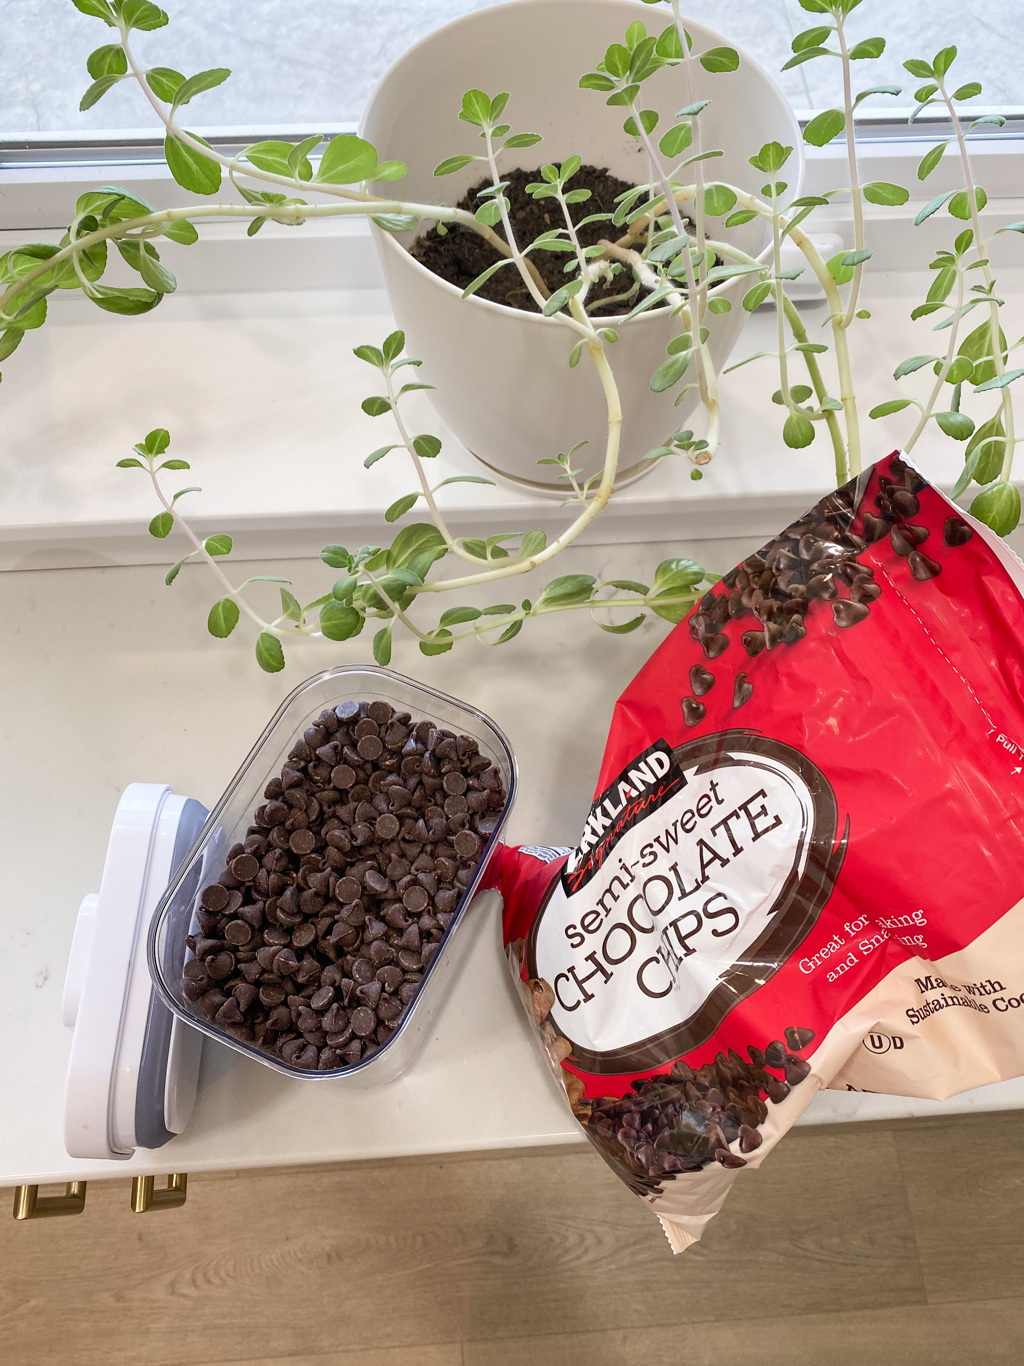
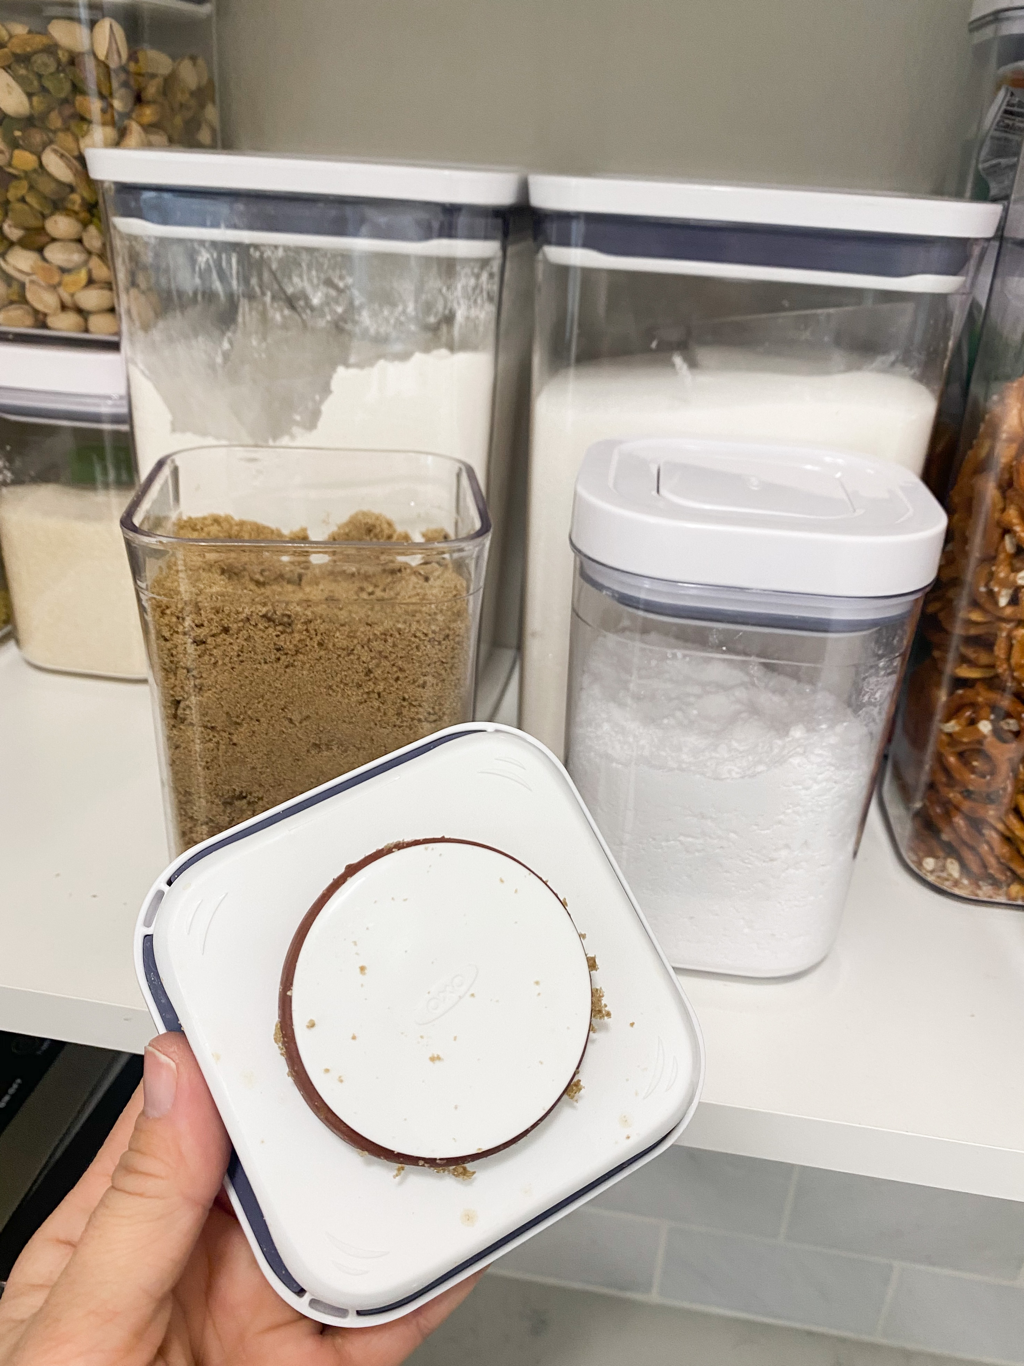
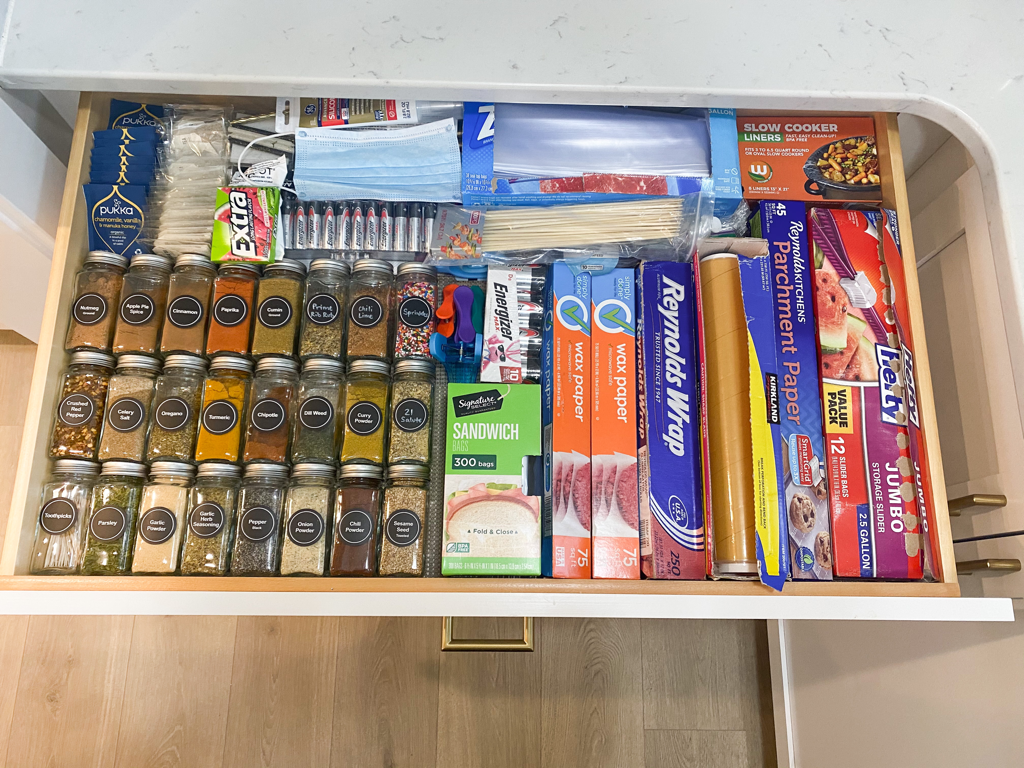
Now that you’ve purged, cleaned, and strategized, it’s time to refill the pantry! I purchasedlast year and they have made such a difference for us; I love the sleek design. Usingmakes keeping your pantry neat and tidy so much easier because you are dealing with stackable, uniform pieces instead of food bags and boxes of varying sizes. They are dishwasher safe and I have also noticed our food stays fresh much longer with the push-button airtight seal.
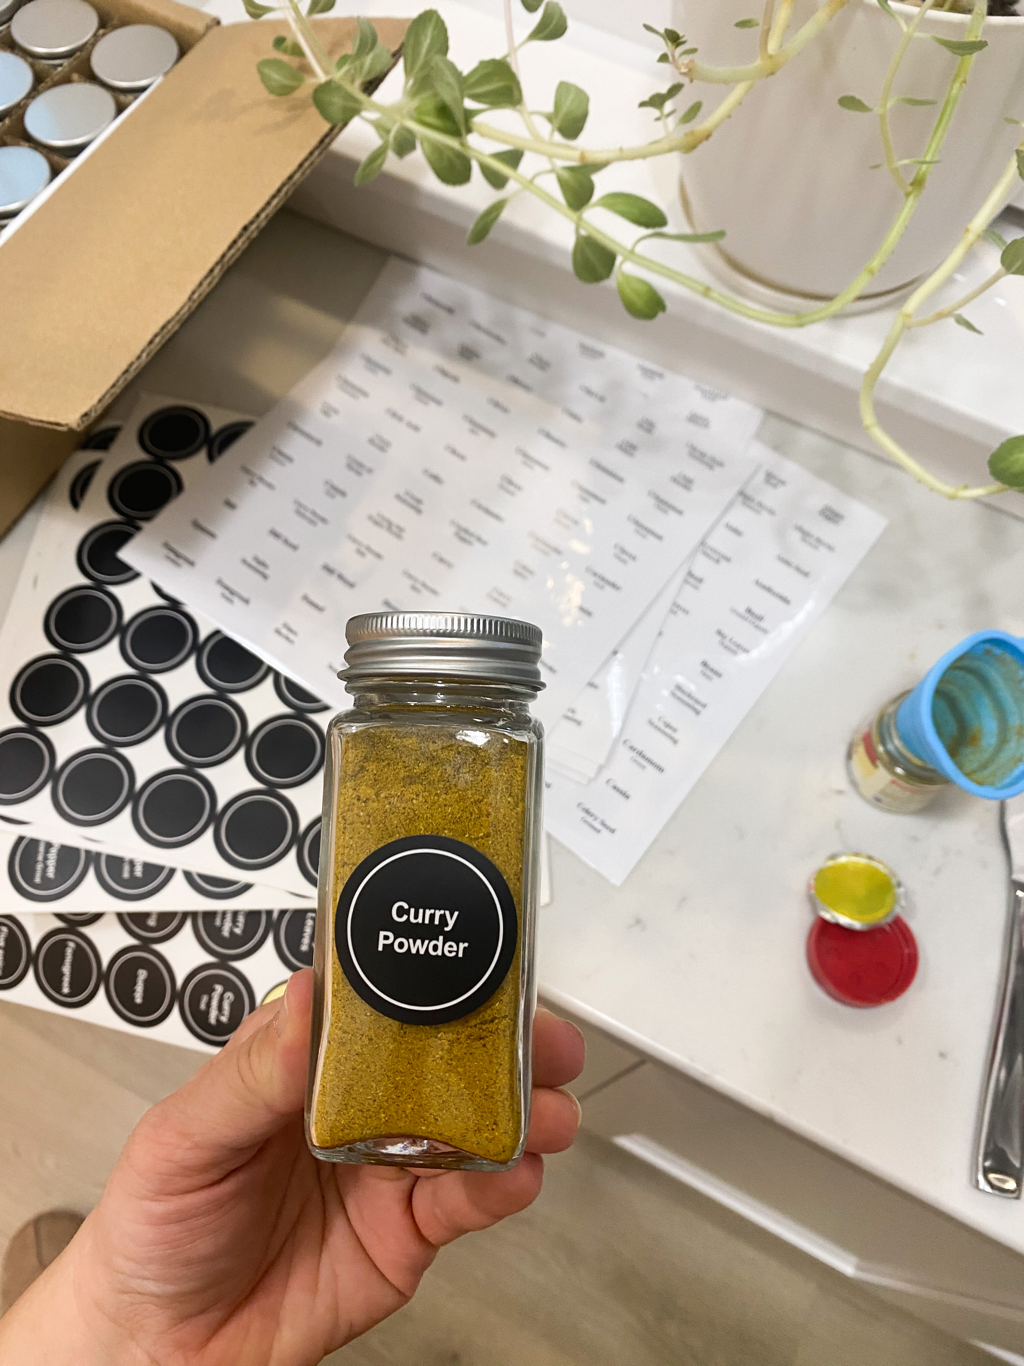
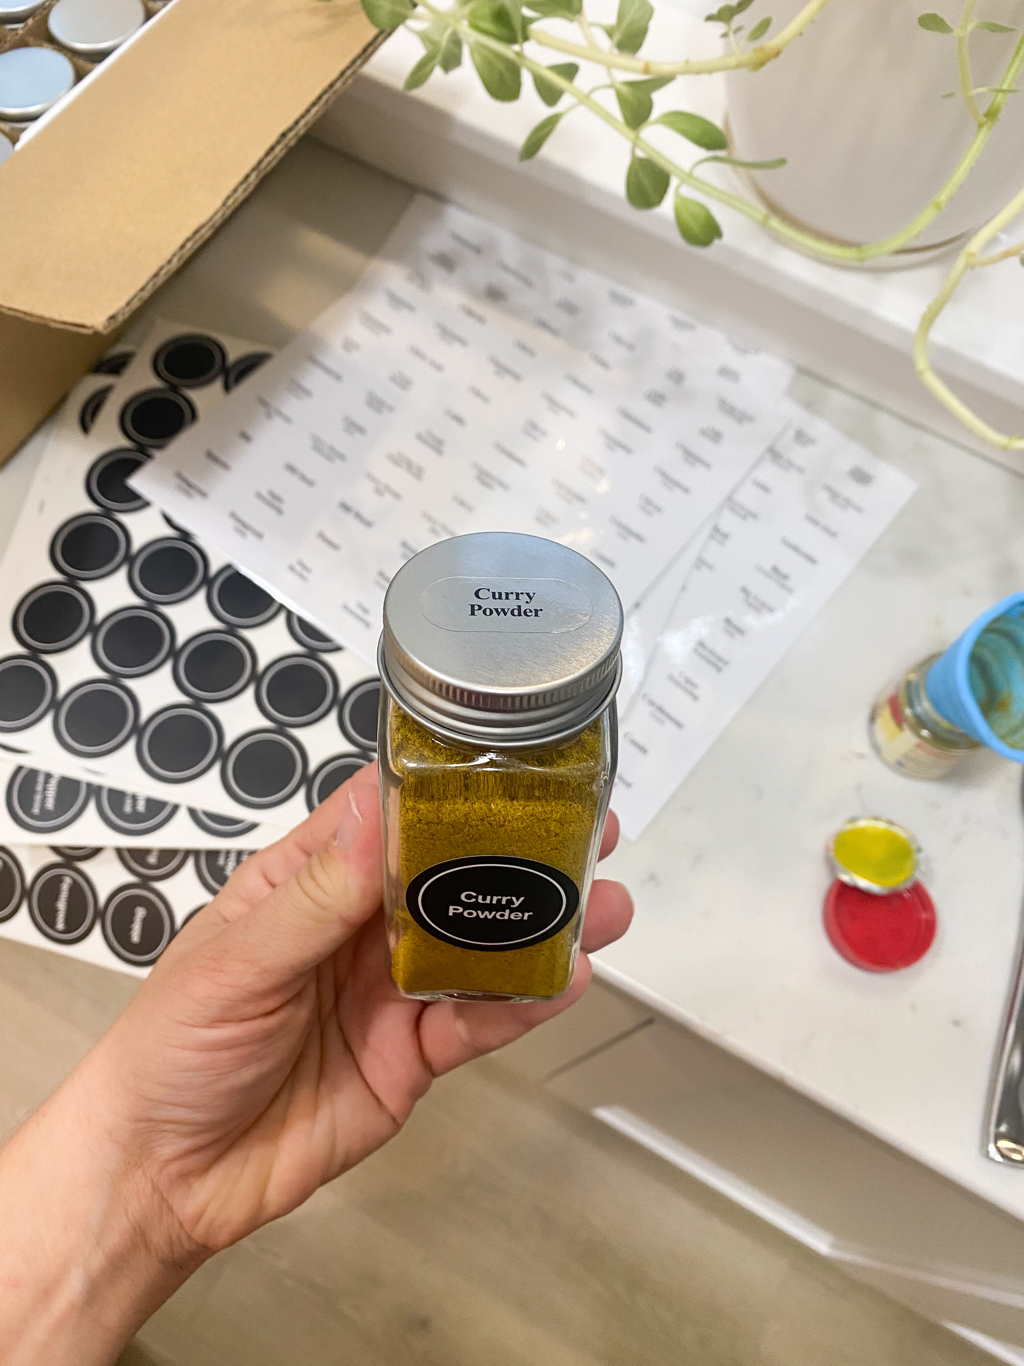
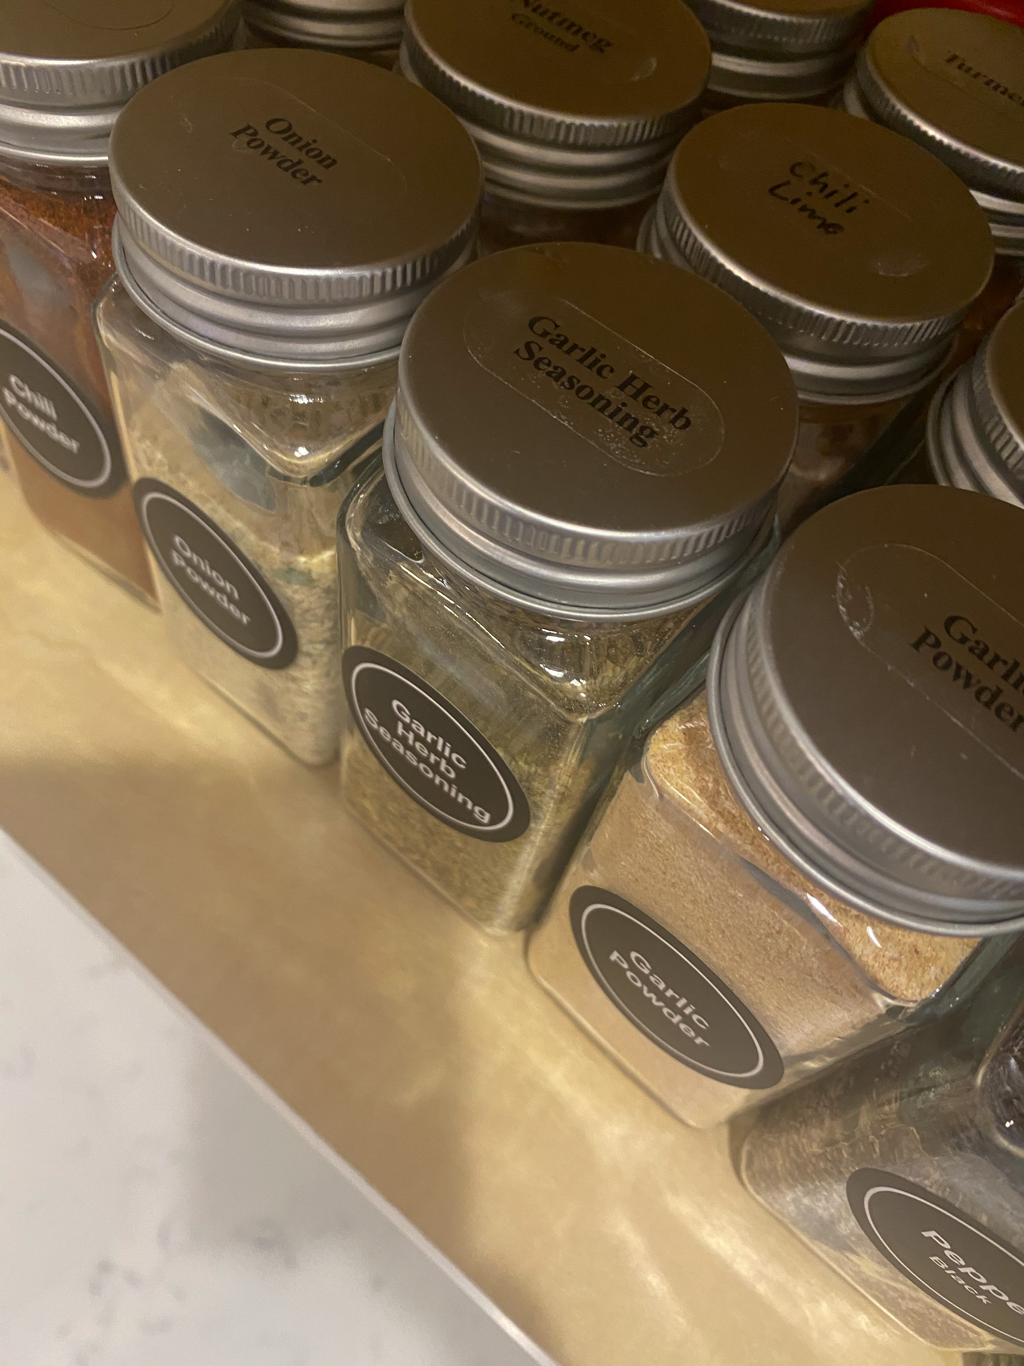
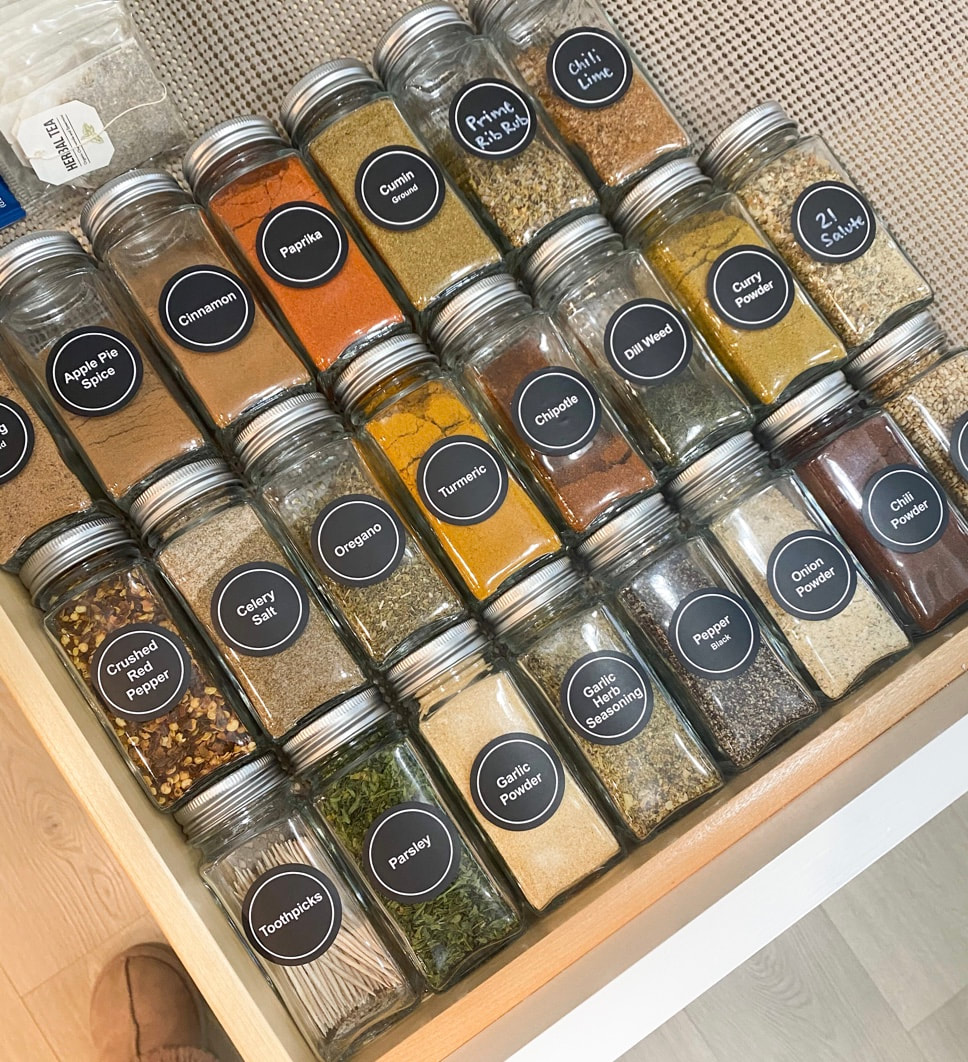
Step 5: LABEL
If you want to take your pantry organization to the next level, label! You can label anything from spice jars to baking essentials and more. I purchased this spice jar set with labels from Amazon and it has made such a difference for us! It’s so easy to quickly see the spice I need and the labels do not come attached to the spice jar so you are able to decide which ones you need or don’t need and if you’d like the label on the side of the jar or on top of the lid, or both, dependent on what makes sense based on how you display your spices.
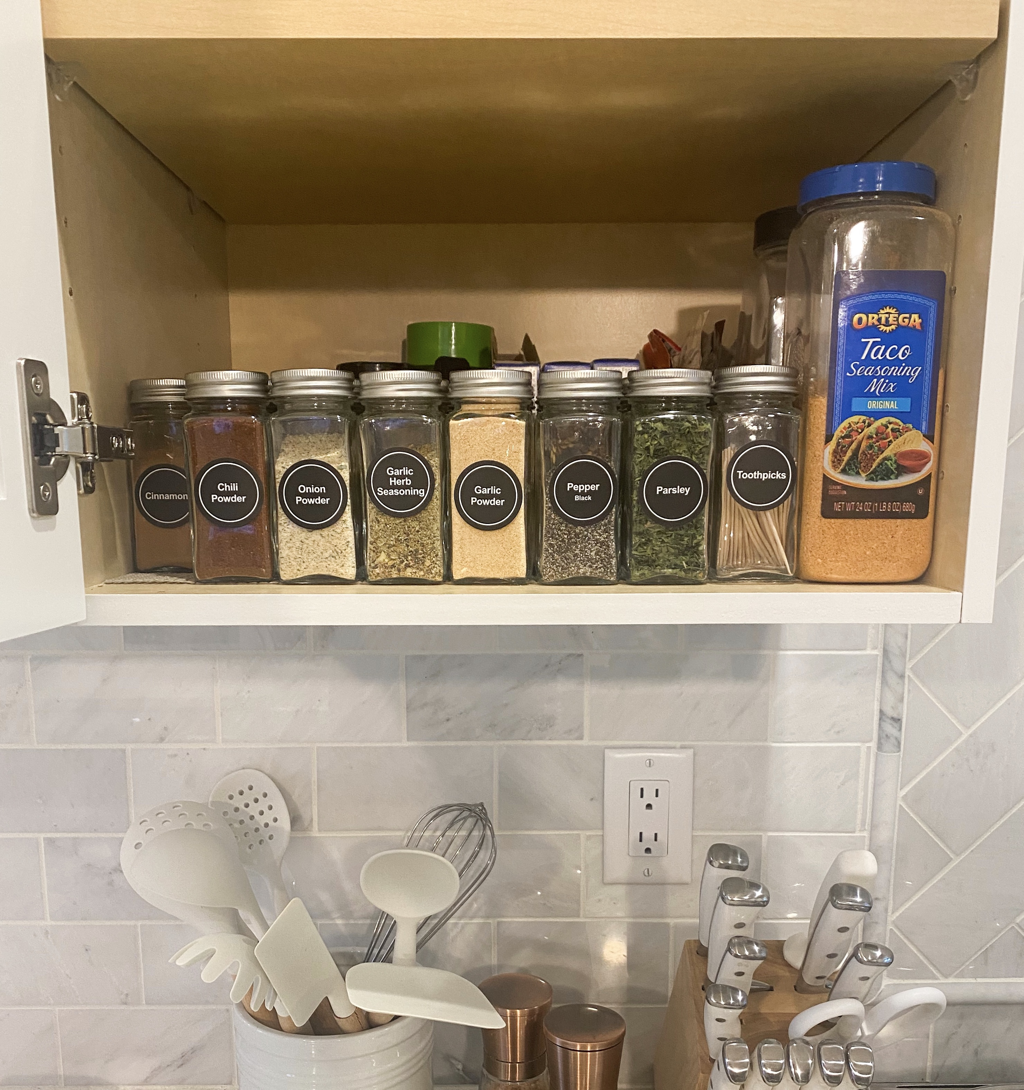
There you have it! 5 easy steps to an organized pantry that will save you time and make cooking, baking, and grocery planning much easier! When you can easily see what you have you don’t accidentally overbuy leaving you to have to toss or overcrowd your pantry. Do you have an organized pantry or will you run and organize it now? I’d love to hear your feedback and tips as to what you have done to make your pantry more efficient.
Written by: Haley Parker // haleyparkerstyle.com // @haleyparkerstyle

