


We moved into our new home this past August and after having custom built our last few homes we strongly desired to change a few things in this home to make it better fitted to our needs and style. We adore our new home’s layout and location plus we have a fantastic neighborhood and knew we could make the other aesthetic changes through time. We have been so happy with the outcome of our projects thus far. We have completed almost all of them ourselves with the exception of some yard landscaping and tree removal.
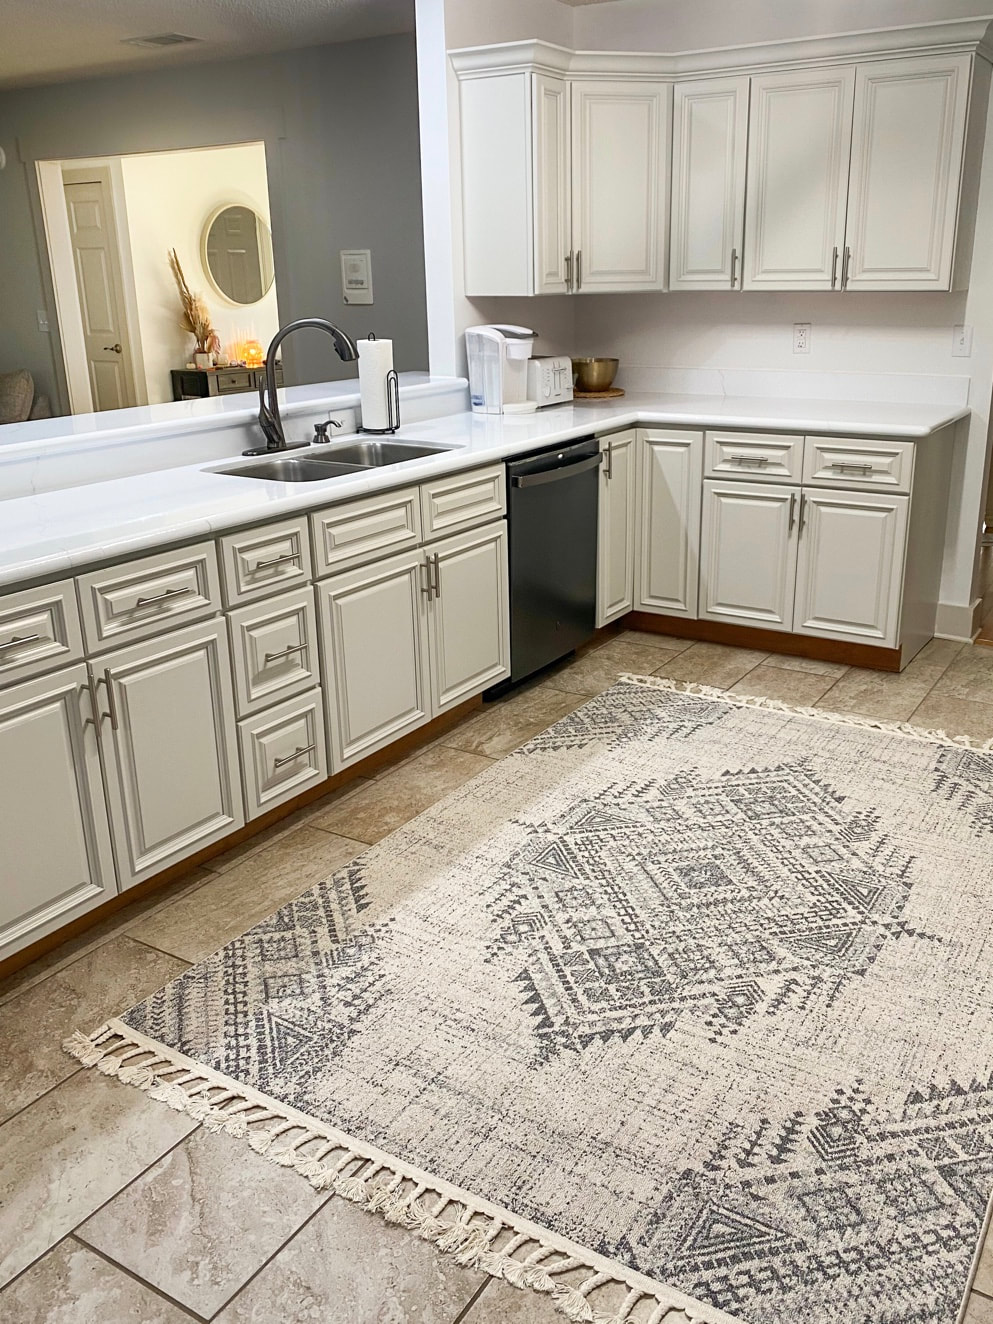
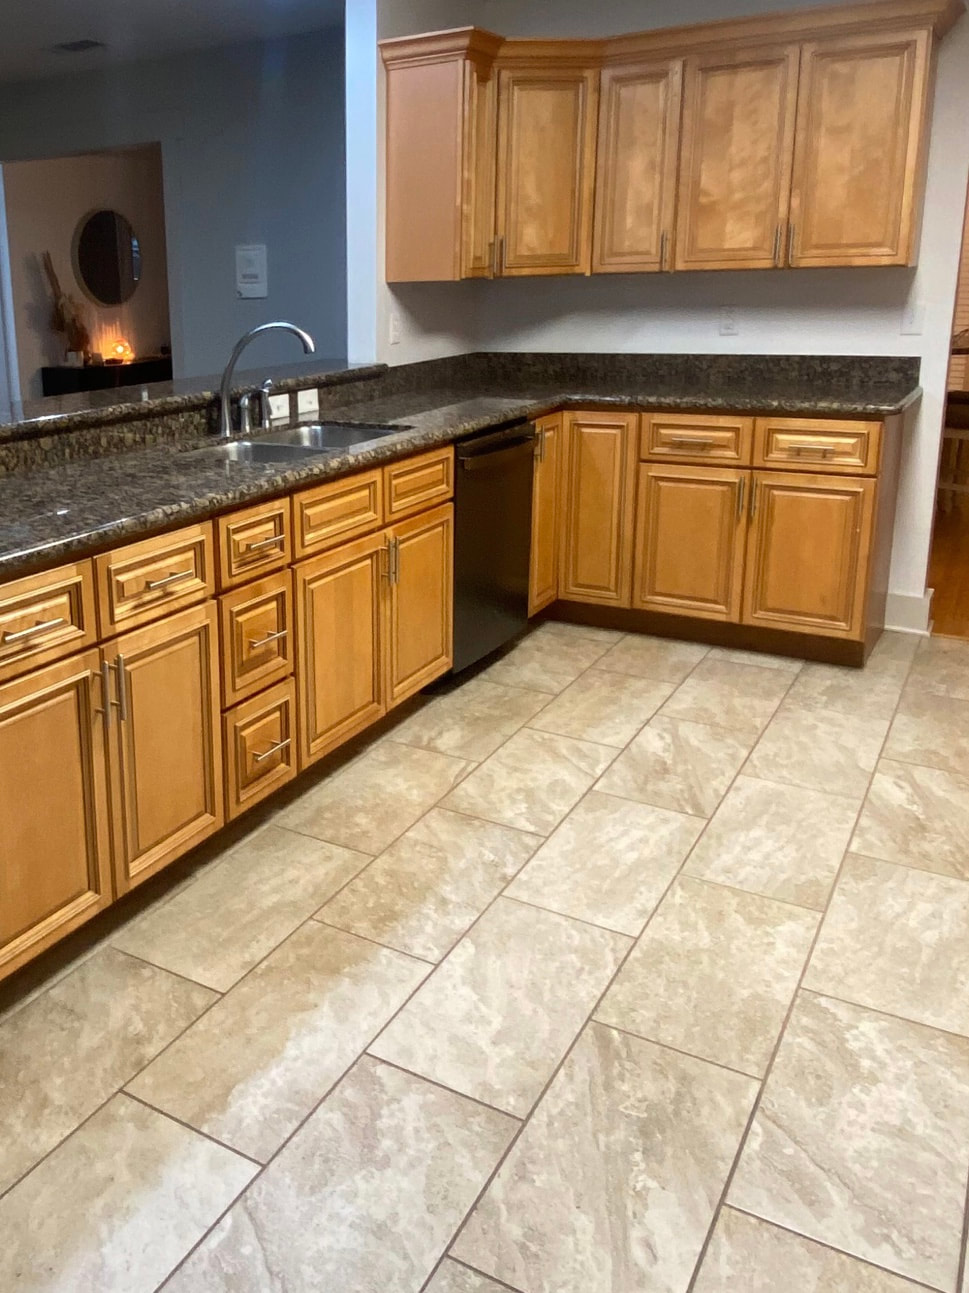
Our last two homes we chose white cabinets for the kitchen and I had always been so happy with them. I love the fresh, bright ambiance of it. I considered white for this home as well but the previous owners had already painted the kitchen walls white plus we changed the countertops to white so I felt white cabinets may be a bit much for this space. I knew I wanted to paint them a light color though and decided on Sherwin Williams Agreeable Gray; we love it!
The trim throughout most of the home was already Agreeable Gray so I had been able to see how the color worked in our home and knew I would be happy with it on a larger scale.
We are new to DIY projects but my husband has years of construction experience and knowledge. Though his experience is in exterior paneling and waterproofing, etc. his familiarity with the tools and processes was extremely helpful.
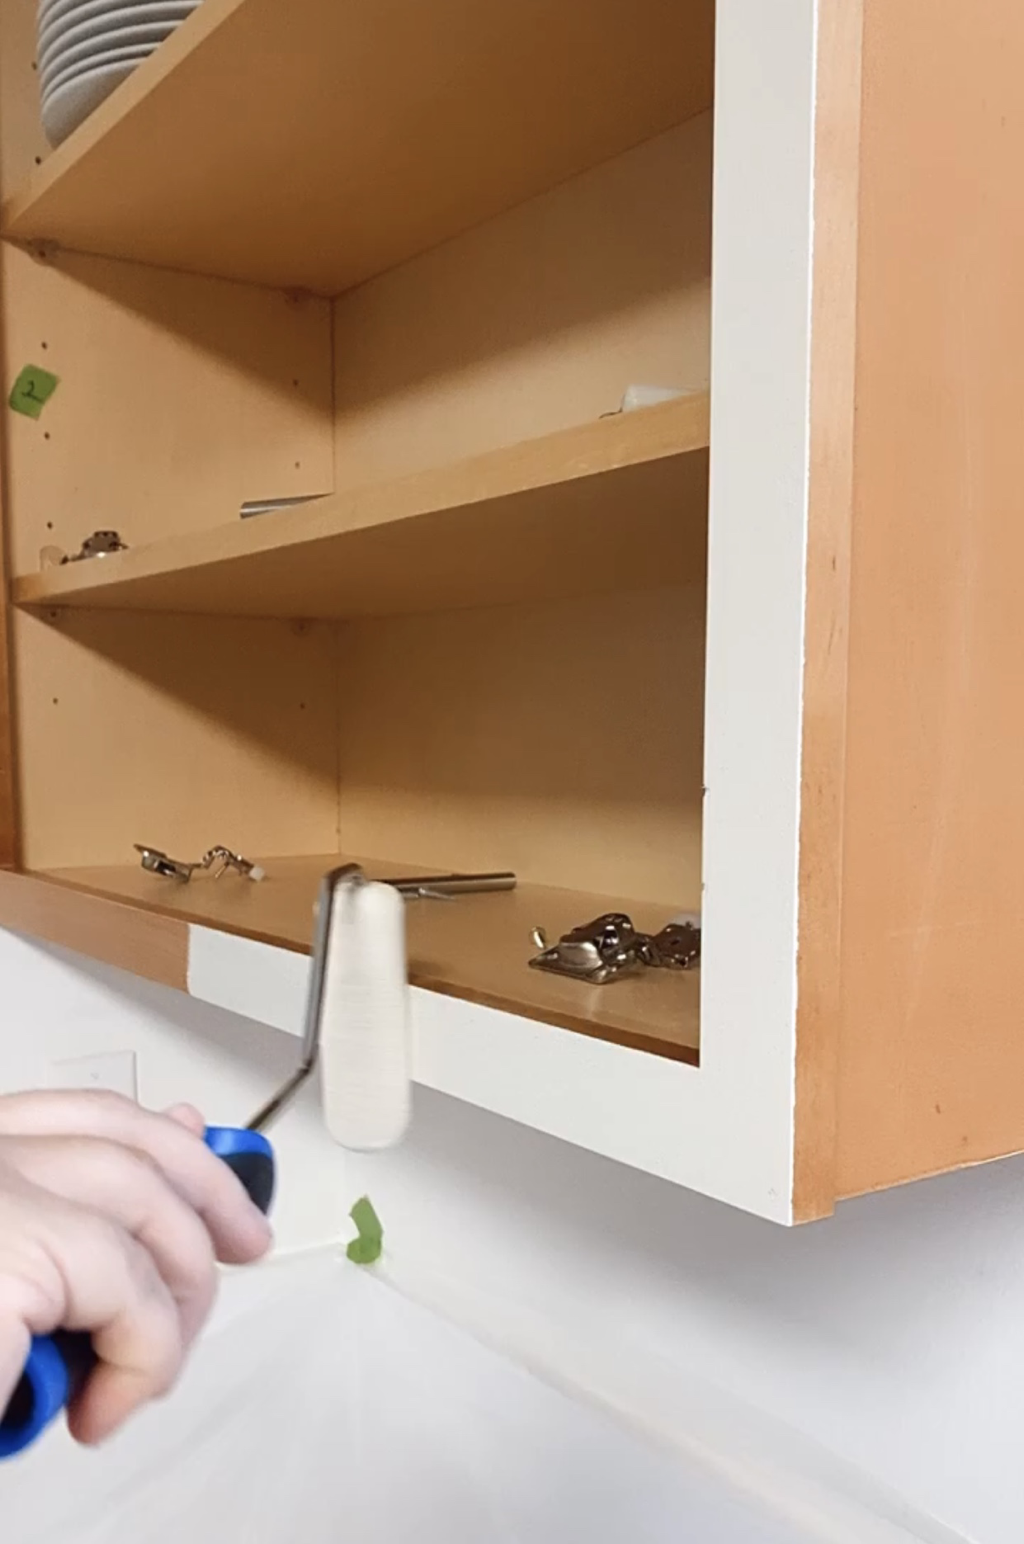
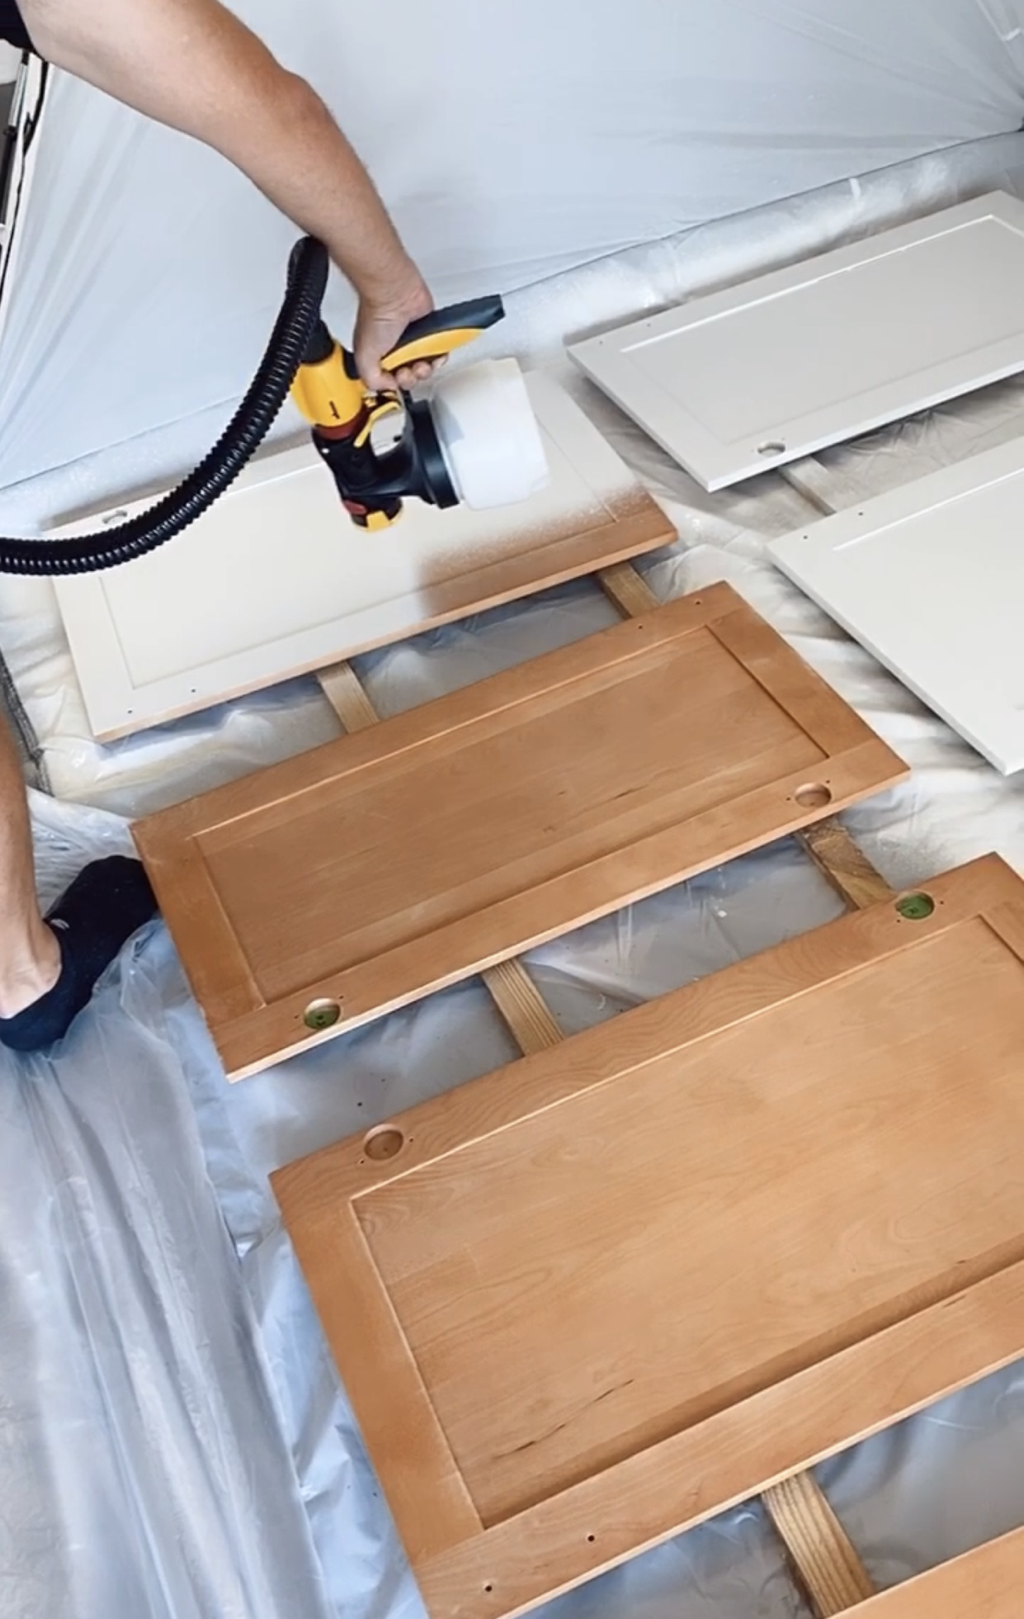
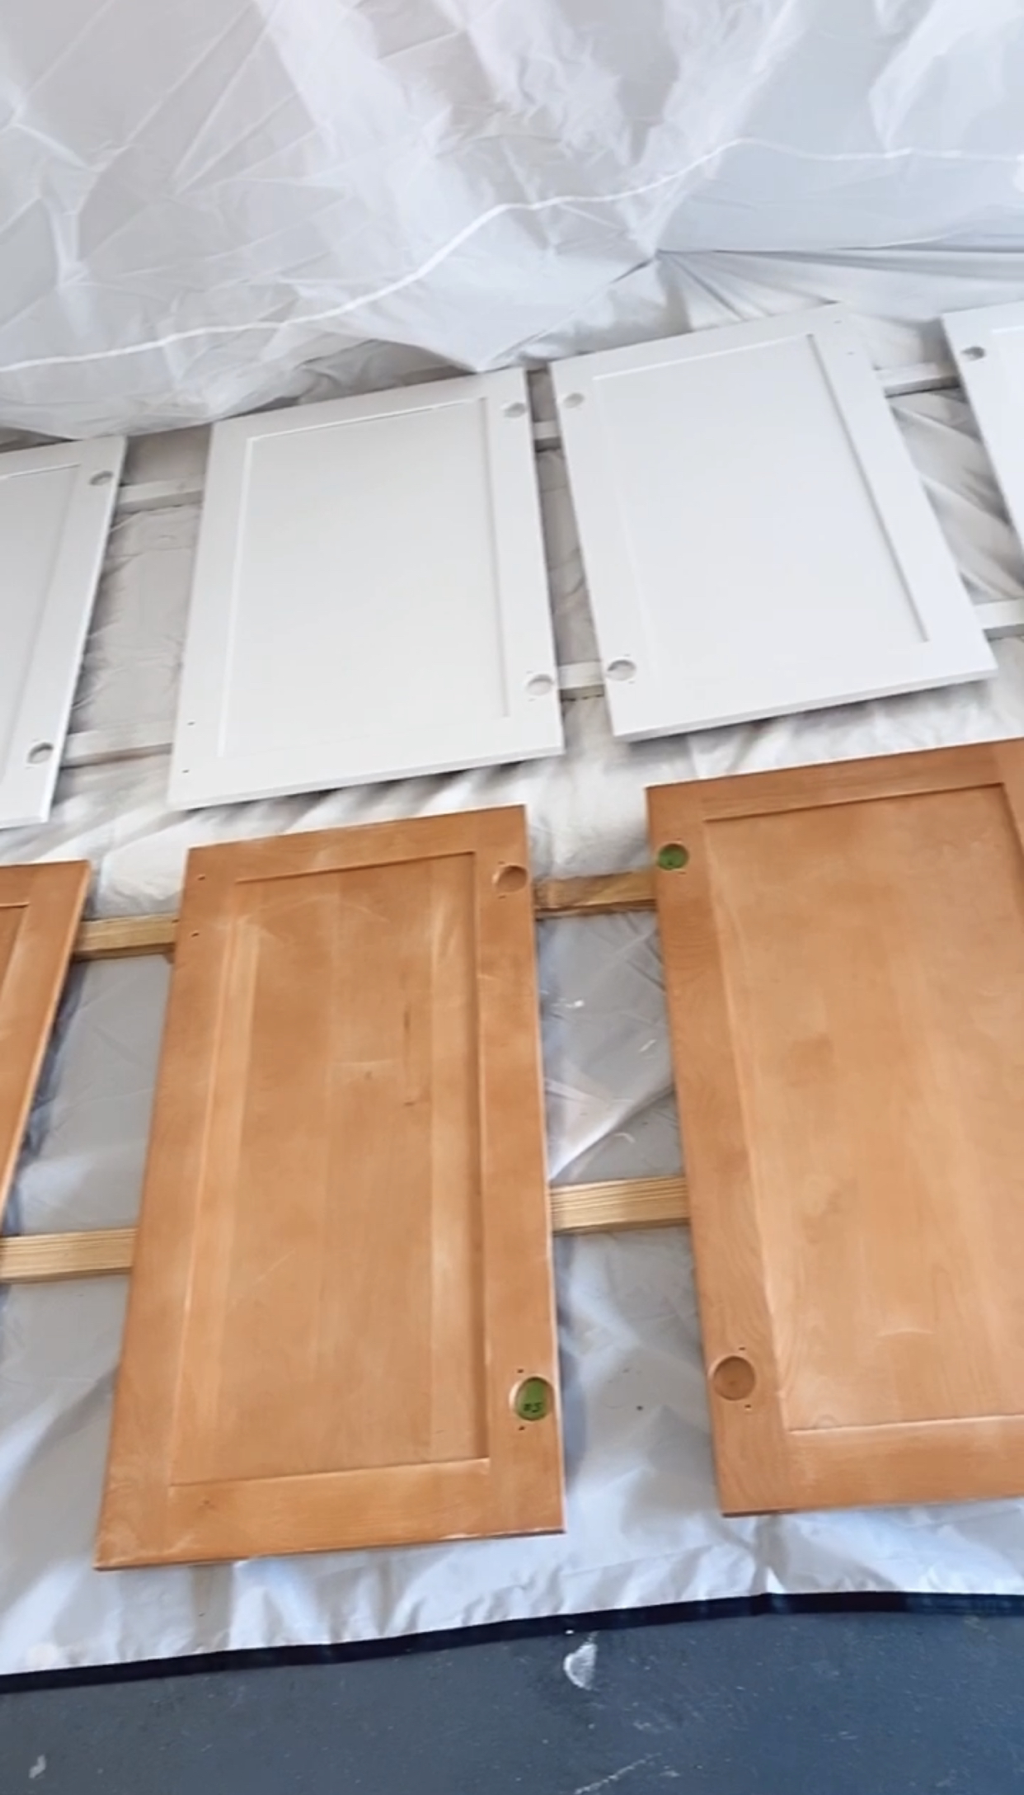
After much research online we decided we would spray the majority of the cabinets versus hand paint it all. My husband removed all of the cabinet doors and drawers and brought them to a paint station he had set up in our garage. I stayed inside and, after taping off around the edges, hand painted the cabinet frames that remained. We numbered each cabinet door and drawer so that we wouldn’t have any issues remembering which was which upon completion and removed all hardware prior to painting.

Here are the supplies we purchased to paint our kitchen cabinets (above). I’ve linked them all . The entire process took us about 4-5 days as we still had regular life to attend to but it seemed to go by quickly! We did lightly sand the cabinets prior to painting though this particular paint states it isn’t necessary. I’ll go over our tips and what we wish we had known prior to this project.

Our Biggest Tips for Painting Your Cabinets
•Make sure your paint station for spraying (we set ours up in the garage) is clean and free of debris in the surrounding area. The sprayer gun releases air while in use and you want to ensure nothing blows onto your freshly painted cabinets as they dry.
•Take apart and rinse the spray gun with water between coats.
•Number the cabinet doors and drawers. You may think it’s easy to remember what goes where but it will save you so much time and frustration knowing for sure.
•We did two coats of paint and recommend waiting at least an hour between coats to let the first coat dry.
•A lazy Susan rotating swivel such awill come in handy when spraying the cabinet drawers. Set the bottom (back) of the drawer on the swivel and push it to easily spin while spraying.
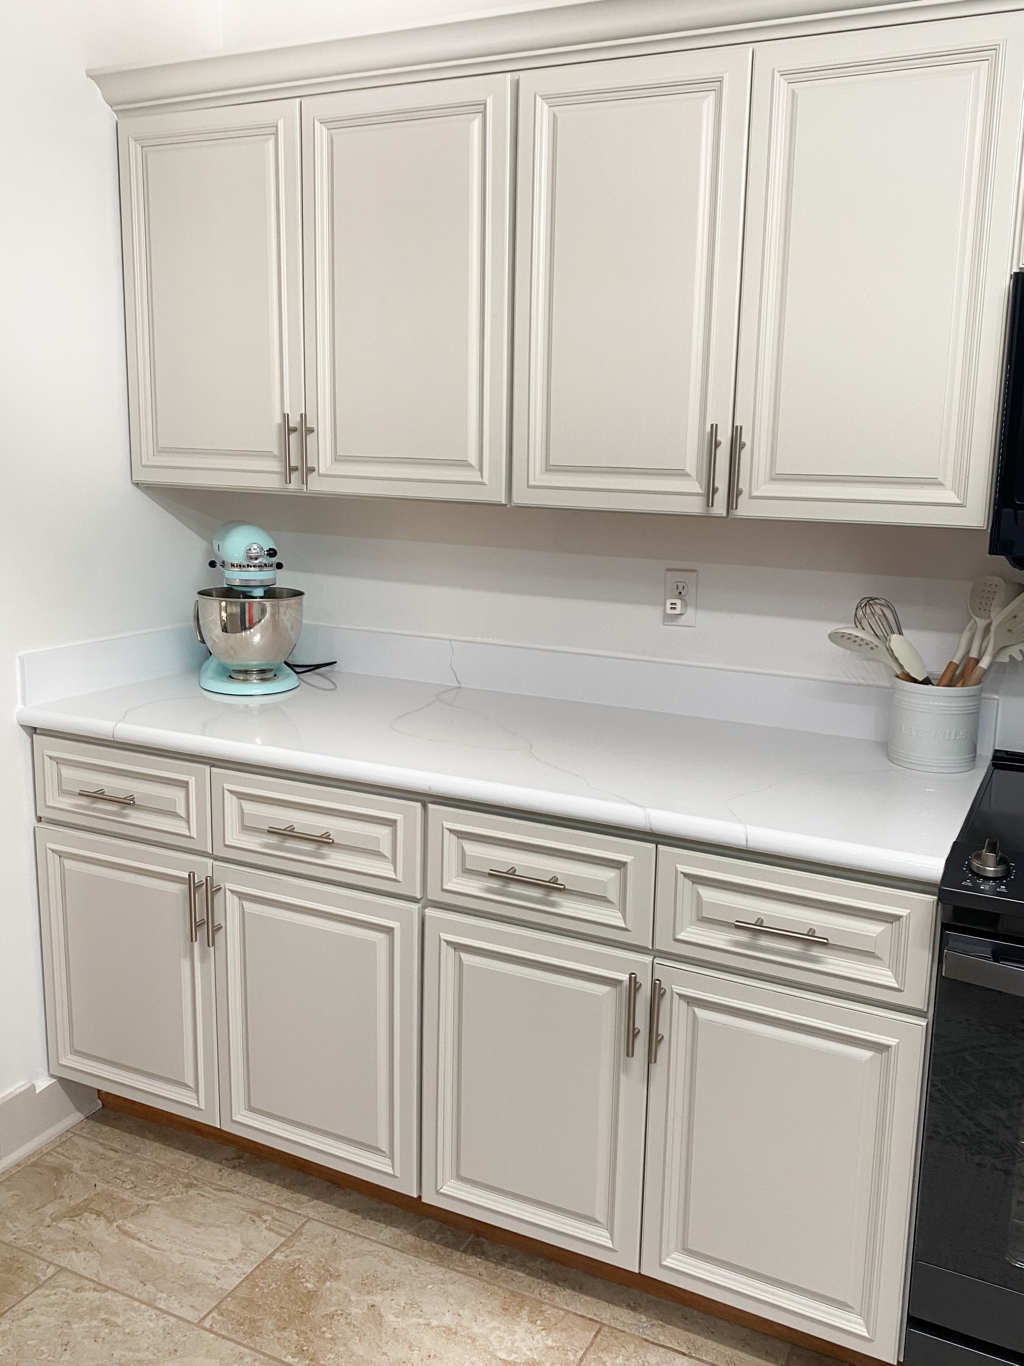
After allowing adequate time to dry, we put the cabinet doors and drawers back in place. We kept them open for the first week after to allow the paint to fully cure and dry then added cabinet bumpers to the interior corners.
Have you painted cabinets before? We would love to hear your tips in the comments!
FOLLOW US ON INSTAGRAM @BLANKERSREALESTATE AND FACEBOOK JERRY BLANKERS-MULJAT GROUP NORTH
POST COMPILED BY HALEY PARKER // @HALEYPARKERSTYLE

